


Our pick
Made in the USA
Our impact screens are made to order in the US, sized to your room and rated to 250 mph ball speed. Get the screen on its own, inside a SwingBay® enclosure, or built wall to wall.

Made by us
Every option below uses the same US-made screen. Pick how you want to hang it.

Screen only
Made to order in the US from 100% heavy-duty polyester rated to 250 mph. Heights from 7.7 to 10 ft in 1:1, 4:3, 16:9 or 16:10, so it fits your opening instead of a stock size.

Screen and frame
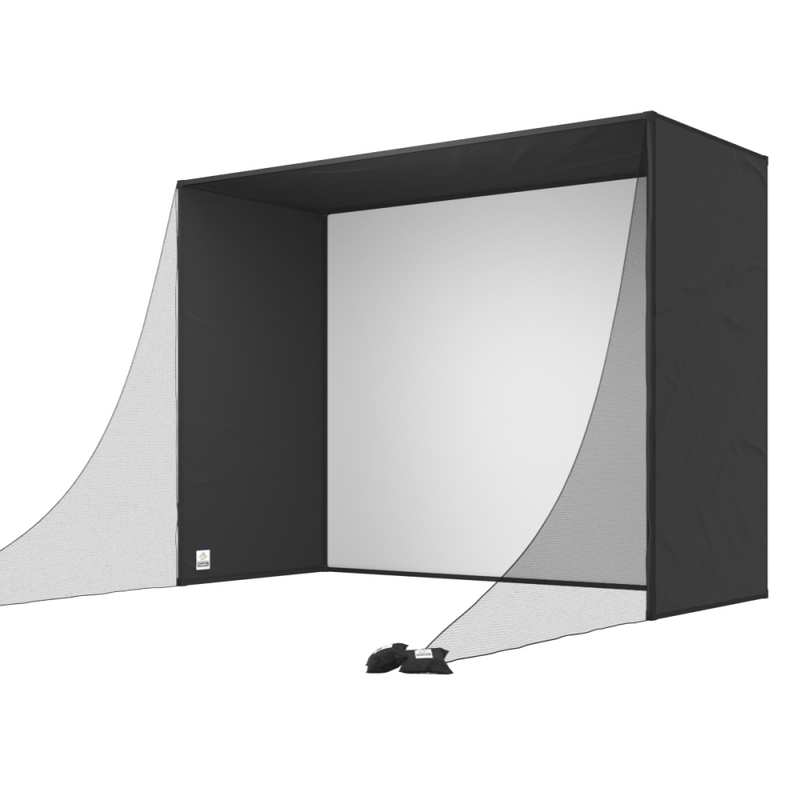
Our push-button aluminum enclosure with the impact screen, triangular side netting and blackout curtains. Most builds go up solo in under 20 minutes.

Wall to wall
A screen cut to your exact wall opening, with a rigid head that holds the top edge straight and a tension cable along the bottom. The wall becomes the screen.
Material
Both are made in the US, rated to 250 mph ball speed and available in every size and finish.
Tightly woven heavy-duty polyester with silicone reinforcement. Durable, a sharp image, and the right call for most home rooms.
Three layers of impact-resistant polyester with a noise-dampening center layer. Quieter, less bounceback and the clearest image we make. Pick it for hard swingers and finished rooms.
Finishing
The edge decides how the screen mounts and how it tensions. Tell us your frame or wall and we will match it.
Standard. A sewn 1 in. loop border on every side that works with ball bungees, hook tape and standard enclosure frames, including SwingBay®.
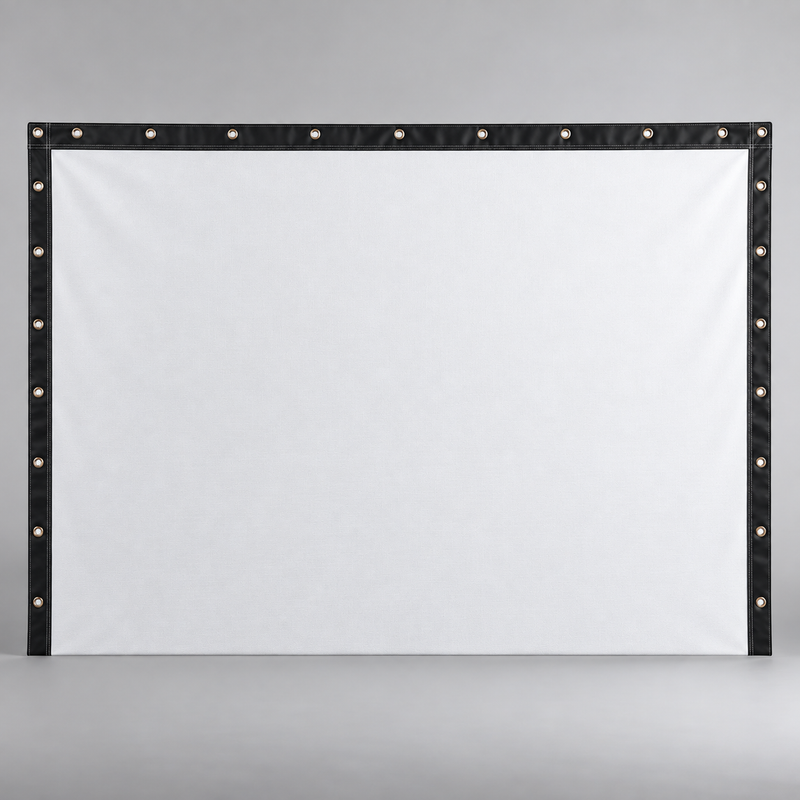
Shop the screen →A reinforced border with grommets for bungees or zip ties. Made for frames and DIY builds that hang the screen from points.
Ask for this finish →A sewn pocket along the bottom edge that carries a tension cable, so the bottom pulls tight and straight. Standard on the Built-In Screen Kit.
See the Built-In Screen Kit →Cut to size with no border, for builders who wrap, staple or clamp the edge into their own frame.
Ask for this finish →


Buying guide
A good screen lasts for years of full swings. Most of that comes down to how it hangs: the space behind it, how far you hit from it, and how much give you leave in the tension. Get those three right and the screen stays quiet, the ball comes back gently and the image stays flat.
The screen should hang off the wall, not against it. About 1 ft of open space behind the screen lets it take the impact and slow the ball instead of passing the hit straight into the wall. Keep that space clear of anything hard, like shelving, pipes or a framed wall edge. If the wall behind is bare drywall or block, padding it is cheap insurance on a mishit. Our room measuring guide walks through the full depth.
Put the ball 10 to 12 ft from the screen. Closer than 10 ft and bounceback becomes the thing you notice most, because the ball reaches the screen faster and comes back with more of its energy. If your room forces you closer, the triple layer screen and a little more give in the tension help.
The goal is a screen that looks flat with no ripples in the image, but still gives when you press the middle. A screen that is drum tight is louder, sends the ball back harder and puts more stress on the stitching and attachment points every shot. A screen that is too loose shows wrinkles in the picture and lets the ball drop straight down.
Some bounceback is good. A ball that comes back a few feet to your mat beats one that rolls to the corner every shot. Our SwingBay bungee system is tuned so the ball comes back about five feet. If yours is coming back too hard:
Impact sound comes from three places: the screen itself, the frame or wall behind it, and anything rattling nearby. Give in the tension does most of the work, since a drum tight screen pops. The triple layer screen is quieter by design. Make sure the ball never reaches the wall through the screen, which is what the foot of space behind it is for, and tighten any loose frame joints or bungee hooks that click on impact.
Replace the screen when you see holes, fraying in the impact zone, or stitching pulling away at the edges. A worn screen sends the ball back harder and can let one through. Our ROS impact screen drops into most bungee and loop frames, and SwingBay owners can ask us for a replacement screen.
Screens sit inside a bigger plan. See every screen and enclosure, size your projector with the projector throw calculator, or build the whole room piece by piece in the Sim Builder. For the full picture, start at Sim room buildout.
Questions
The single layer is tightly woven heavy-duty polyester with silicone reinforcement, durable with a sharp image, and the right call for most home rooms. The triple layer adds two more layers of impact-resistant polyester with a noise-dampening center layer, so it is quieter, has less bounceback and gives the clearest image we make.
Flat enough that the image shows no ripples, with some give when you press the middle. A drum tight screen is louder, sends the ball back harder and wears faster at the stitching.
Loosen the bottom edge first, hit from 10 to 12 ft, and leave about a foot of space behind the screen. The triple layer screen also absorbs more of each hit.
Leave give in the tension, keep about a foot of space behind the screen so the ball never reaches the wall, tighten anything on the frame that clicks, and consider the triple layer screen with its noise-dampening center layer.
About 1 ft. That space lets the screen take the impact instead of passing it into the wall.
In most cases, yes. The ROS impact screen ships with a finished 1 in. loop surround that works with bungees, hook tape and standard enclosure frames. Measure your current screen's viewable area and order to match, or ask us and we will check it.
Use a soft brush, or a damp cloth with mild soap, and let it dry fully before projecting. Avoid solvents and harsh cleaners.
Reviews
“Rain or Shine was great to work with. Answered questions and the delivery was super fast.”
“Great customer service, great communication. Rain or Shine is where I get all of my simulator purchases!”
“My experience with rain or Shine has been outstanding. They were super helpful and quick to respond to any problems I had”
“I always love working with the team at Rain and Shine Golf.”
“Fantastic service. Reached out via chat for an order and had it placed within a few minutes and receive a shipment notification the same day. Highly recommend Rain or Shine!”
“Rain or Shine Golf has been amazing. I had questions about the product and they answered right away. They kept me informed throughout the entire process. I would definitely recommend them to anyone.”
Free design consultation
Book a free design consultation. Share your room size and how you want to play, and we will help you pick a setup that fits.